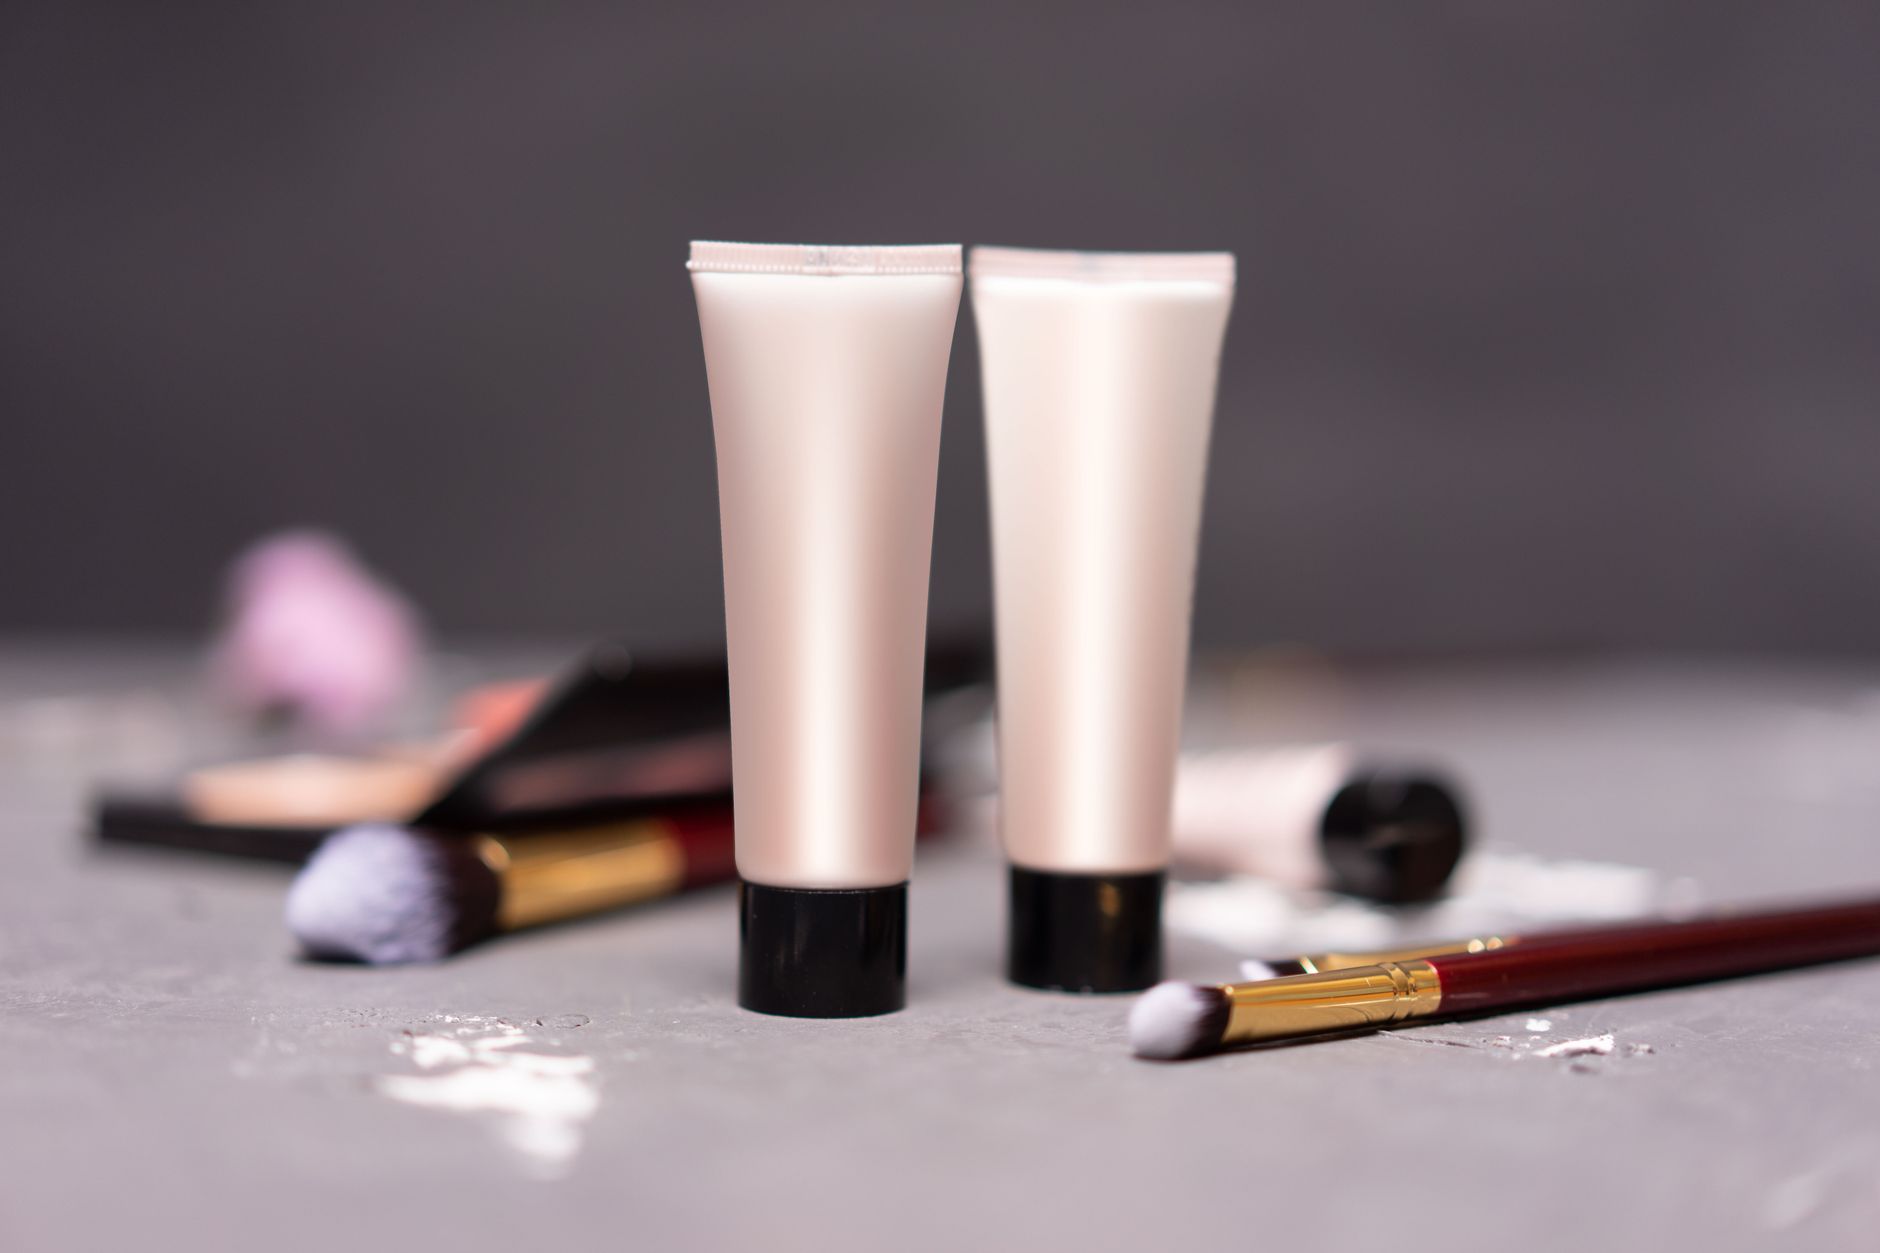

Shade, undertone, coverage, and finish should match the specific area and concern you want to conceal. A pale, thick layer can draw attention to a blemish, while a thin peach layer can soften dark circles without leaving your under-eyes gray.
You’ll sort dark circles, redness, acne and blemishes, hyperpigmentation, dryness, and oiliness into a routine that looks natural in daylight and holds up through your day.
Start With the Concern You Want to Cover
Concealer blends into skin only after it addresses the right visual issue. Dark circles need brightness or color correction, while a raised blemish needs precise coverage that matches the skin around it. Your intended result directs each choice that follows.
Color Concerns and Texture Concerns Need Different Coverage
Discoloration sits flat, but texture catches light. Hyperpigmentation, redness, and under-eye shadows respond to pigment adjustment. Fine lines, dry flakes, puffiness, scars, and active acne need less product because extra coverage settles into ridges and edges.
Check your face near a window rather than beneath a bathroom bulb. Look for blue-purple darkness, red inflammation, brown marks, or uneven tone. That brief check helps you avoid treating every area with the same full-coverage concealer.
- Dark under-eyes: Place product only over the hollow or discoloration rather than coating the entire under-eye area.
- Redness: Cover mild red areas with a thin skin-tone layer, or place a sheer green corrector beneath it for stronger redness.
- Active blemishes: Match the skin surrounding the spot so your coverage does not turn a bump into a pale target.
- Dark marks: Cover flat hyperpigmentation with thin cream layers that stay smooth at the edges.
- Uneven tone: Choose flexible medium coverage where your complexion needs soft evening rather than dense camouflage.
Set a Specific Result Before Adding Coverage
Your under-eye area may need brightness, while your chin needs camouflage. For example, a blue inner corner can benefit from light peach corrector and a brighter concealer. A red blemish beside it needs a skin-matched shade instead.
Coverage alone does not solve every concern. A formula that looks smooth for two hours but gathers in dry folds by lunch is too heavy for that area. Texture is your map, and shade is the next choice.
Shade Matching Changes Between Under-Eyes and Blemishes
A lighter shade can lift a shadow beneath your eye, yet that same shade makes acne and scars stand out. Your face has different concealer jobs, so shade matching needs to change with placement.
Under-Eye Brightness Needs a Small Shade Shift
Choose an under-eye concealer about one shade lighter than your foundation for restrained brightening. Stop there. A much lighter shade can look ashy, especially on deeper skin tones or under-eyes with pronounced texture.
Undertone matters as much as depth. A pink formula over golden or olive skin can look gray. A golden formula over cool skin can read orange. Let color correction handle strong discoloration rather than asking a very light concealer to do both jobs.
Spot Coverage Needs a Precise Skin Match
| Area you cover | Shade direction | Visible result |
|---|---|---|
| Under-eye hollow | About one shade lighter | Your complexion looks brighter rather than striped. |
| Red blemish | Match surrounding skin | Your spot recedes rather than turning pale. |
| Brown mark | Match your face after correction | Your mark blends into nearby tone. |
| Jawline redness | Match foundation depth and undertone | Your jawline stays even in daylight. |
For how to choose concealer shade, swipe a small stripe along your jawline and place a pinhead amount below your eye. Leave both areas alone for 10 minutes in daylight. Your skin warmth and natural oils can shift the visible undertone after the formula settles.
Once the true undertone is visible, neutralizing strong discoloration can reduce how much concealer you need.
Judge concealer in daylight as well as indoor light. Daylight shows a gray cast, excess yellow, or oxidation that one overhead bulb can hide.
Color Correction Softens Discoloration Before Skin-Tone Coverage
Strong blue, purple, brown, or red pigment can show through several beige layers. Color correction changes the starting color, so you need less skin-tone product and keep the finish thinner.
Corrector Depth Depends on Skin Tone and Discoloration Depth
| Concern you see | Corrector choice | Natural-looking placement |
|---|---|---|
| Mild blue or purple darkness | Light peach corrector | Tap it only into the darkest hollow. |
| Deep blue, purple, or brown darkness | Orange corrector | Choose a deeper orange as your skin depth deepens. |
| Red blemish or rosacea | Green corrector | Use a sheer veil, then add skin-tone concealer. |
| Mild unevenness | No corrector | Use a well-matched concealer alone. |
Peach softens mild blue, purple, and brown darkness on lighter to medium skin tones. Orange carries more pigment and suits deeper discoloration or deeper complexions. Your goal is neutralization, not an orange layer visible beneath foundation.
Green sits opposite red on the color wheel, so it can mute a red blemish, rosacea patch, or inflamed area. Keep the layer sparse. Too much green leaves a dull cast and forces you to add extra coverage over it.
Correction Has a Useful Limit
Reserve a color correcting concealer step for discoloration that still shows through a thin skin-tone layer. A natural under-eye shadow caused by facial structure does not need saturated pigment. Extra corrector can make your makeup look thicker than the shadow itself.
For example, tap peach into a dark inner corner, then place your brightening shade over that small area. Keep the surrounding under-eye skin bare or lightly covered. Your face keeps its natural dimension rather than looking flat.
Formula and Finish Need to Follow Skin Type and Texture
Once discoloration is softened, formula becomes easier to judge. Dry folds need slip and flexibility, while oily areas need adhesion without a heavy, flat mask. Your skin can need two different formulas across the same face.
Flexible Liquids Suit Dry and Dehydrated Areas
For concealer for dry skin, choose a hydrating concealer with a liquid or serum-like feel. Matte concealer can cling to flakes and fine lines, especially around the eyes. e.l.f. Hydrating Camo Concealer fits the hydrating category, though your shade and skin prep still shape the result.
A crease-resistant concealer resists movement, but it cannot erase every expression line. Place a tiny amount over moisturizer, then tap instead of sweeping. Your skin texture should still look like skin after coverage settles.
Oil Control Needs Placement Rather Than Extra Product
For concealer for oily skin, an oil-free or non-comedogenic formula can suit shiny, acne-prone zones. Non-comedogenic means the formula is designed with pore congestion in mind. It does not mean your skin cannot react or break out.
NARS Radiant Creamy Concealer and Maybelline Fit Me Concealer are liquid formats suited to light-to-medium coverage, depending on placement. Tarte Shape Tape Concealer has a drier, fuller-coverage feel. Your selected spots may handle that finish well, while a dry under-eye can look stark.
Cream Coverage Works in Thin Films
Flat hyperpigmentation and scars can need more pigment than a sheer liquid offers. Dermablend Cover Care Concealer represents a high-coverage category suited to marks. Place a thin film, leave it to settle, then add a small amount only where discoloration still shows.
Raised acne changes the rule. Full coverage over a bump can emphasize its outline because light reflects from the thicker surface. A thinner flexible layer looks more believable than an opaque mound.
That restraint only lasts when placement and setting account for the skin’s movement and oil patterns.
For dehydrated, acne-prone skin, keep a flexible formula around dry patches and under-eyes. Reserve a more oil-controlling formula for blemishes and the T-zone.
Placement and Setting Decide Whether Concealer Looks Like Skin
A well-matched formula can still look heavy through broad placement. Concealer behaves like paint: a thin, controlled layer looks smoother, while excess product gathers at edges and movement lines.
Small Placements Keep Natural Dimension
- Place under-eye dots: Add tiny dots at the inner corner and deepest hollow rather than covering the full under-eye area.
- Tap outward gently: Press product outward with a fingertip, sponge, or small brush until darkness softens into nearby skin.
- Cover blemishes precisely: Put product at the center of a blemish with a tiny brush, then soften only the outer edge.
- Press over texture: Pat across flakes, scars, and active acne so your coverage stays where you placed it.
- Pause between layers: Leave the initial layer briefly before adding pigment to the darkest remaining mark.
Your brush size matters for acne and blemishes. A narrow synthetic brush places concealer on a 2-millimeter spot without coating clear skin around it. A large sponge can lift product from the center and leave a visible ring.
Setting Powder Belongs Only in Moving or Oily Areas
Crease-prone under-eyes benefit from a light touch of finely milled setting powder after you tap out visible folds. Press powder only into the moving crease with a small brush. Dry under-eyes can look older beneath a broad powder layer.
Set spot concealer where oil causes fading, such as beside the nose, on the chin, or across the forehead. Leave stable areas without powder once they look smooth. Your skin does not need the same finish everywhere.
Because different areas break down differently, a wear check reveals where your routine needs adjustment.
A Wear Check Shows the Trade-Offs in Your Routine
Daylight exposes small issues that a vanity mirror can miss. Check your face after normal movement, heat, and several hours of wear before settling on a routine. Your makeup should look quieter as the day moves forward, not thicker.
Visible Problems Point to a Specific Adjustment
- Gray under-eyes: Your shade is too light or too cool, so reduce brightening and correct blue tones beneath it.
- Orange cast: Your formula oxidized or runs too warm, so shift toward a cooler or more neutral undertone.
- Visible corrector: Your peach, orange, or green layer is too saturated, so choose a lighter corrector depth.
- Creased folds: Your layer is too thick, so tap out folds after settling and powder only recurring creases.
- Fading spots: Your blemish needs two thin layers or selective powder instead of one thick coat.
- Patchy flakes: Your finish is too matte or dry, so reduce product and shift to a more flexible formula.
How to choose concealer for different skin concerns becomes clearer after that wear check. Your goal is not the most opaque formula. It is coverage that feels comfortable and stays visually quiet through your real day.
Persistent acne deserves care beyond makeup. The American Academy of Dermatology has patient acne-care information, and a dermatologist can help with breakouts, irritation, or marks that affect your skin beyond cosmetic coverage.
Final Thoughts
Your concealer should solve one visible problem without announcing itself. Match spot coverage to surrounding skin, reserve a lighter shade for subtle under-eye brightness, correct strong discoloration before coverage, and keep layers thin around texture. That approach gives you more control than a full-coverage claim printed on a tube.
FAQ
How do I choose the right concealer shade for my skin tone?
Match blemish concealer to the skin directly around the spot, including undertone. For your under-eye area, go about one shade lighter than foundation only for subtle brightness. Place a small amount in daylight for 10 minutes because your formula can shift after it settles.
What color corrector cancels dark under-eye circles?
Peach corrector helps neutralize mild blue, purple, or brown darkness on lighter to medium skin tones. Orange corrector has more strength for deeper discoloration and deeper complexions. Keep your layer thin, then cover it with a skin-tone or lightly brightening concealer.
Which concealer covers acne without a cakey finish?
A skin-matched, oil-free liquid or flexible cream suits concealer for acne and blemishes. Place a tiny amount at the center with a small brush and soften only the edges. Your raised blemish looks less noticeable with two thin layers than one thick layer.
Should concealer be lighter or darker than foundation?
For under-eyes, a concealer about one shade lighter than foundation can add restrained brightness. Concealer on acne, scars, redness, and hyperpigmentation should match surrounding skin instead. A lighter spot catches more light than your natural complexion, so it becomes easier to see.
How do I reduce concealer creasing under my eyes?
Use less product, tap it into the darkest hollow, and smooth visible folds after the formula settles. Press a small amount of finely milled setting powder into creases that move repeatedly. Skip broad powder coverage across your whole under-eye area where dryness is already visible.