
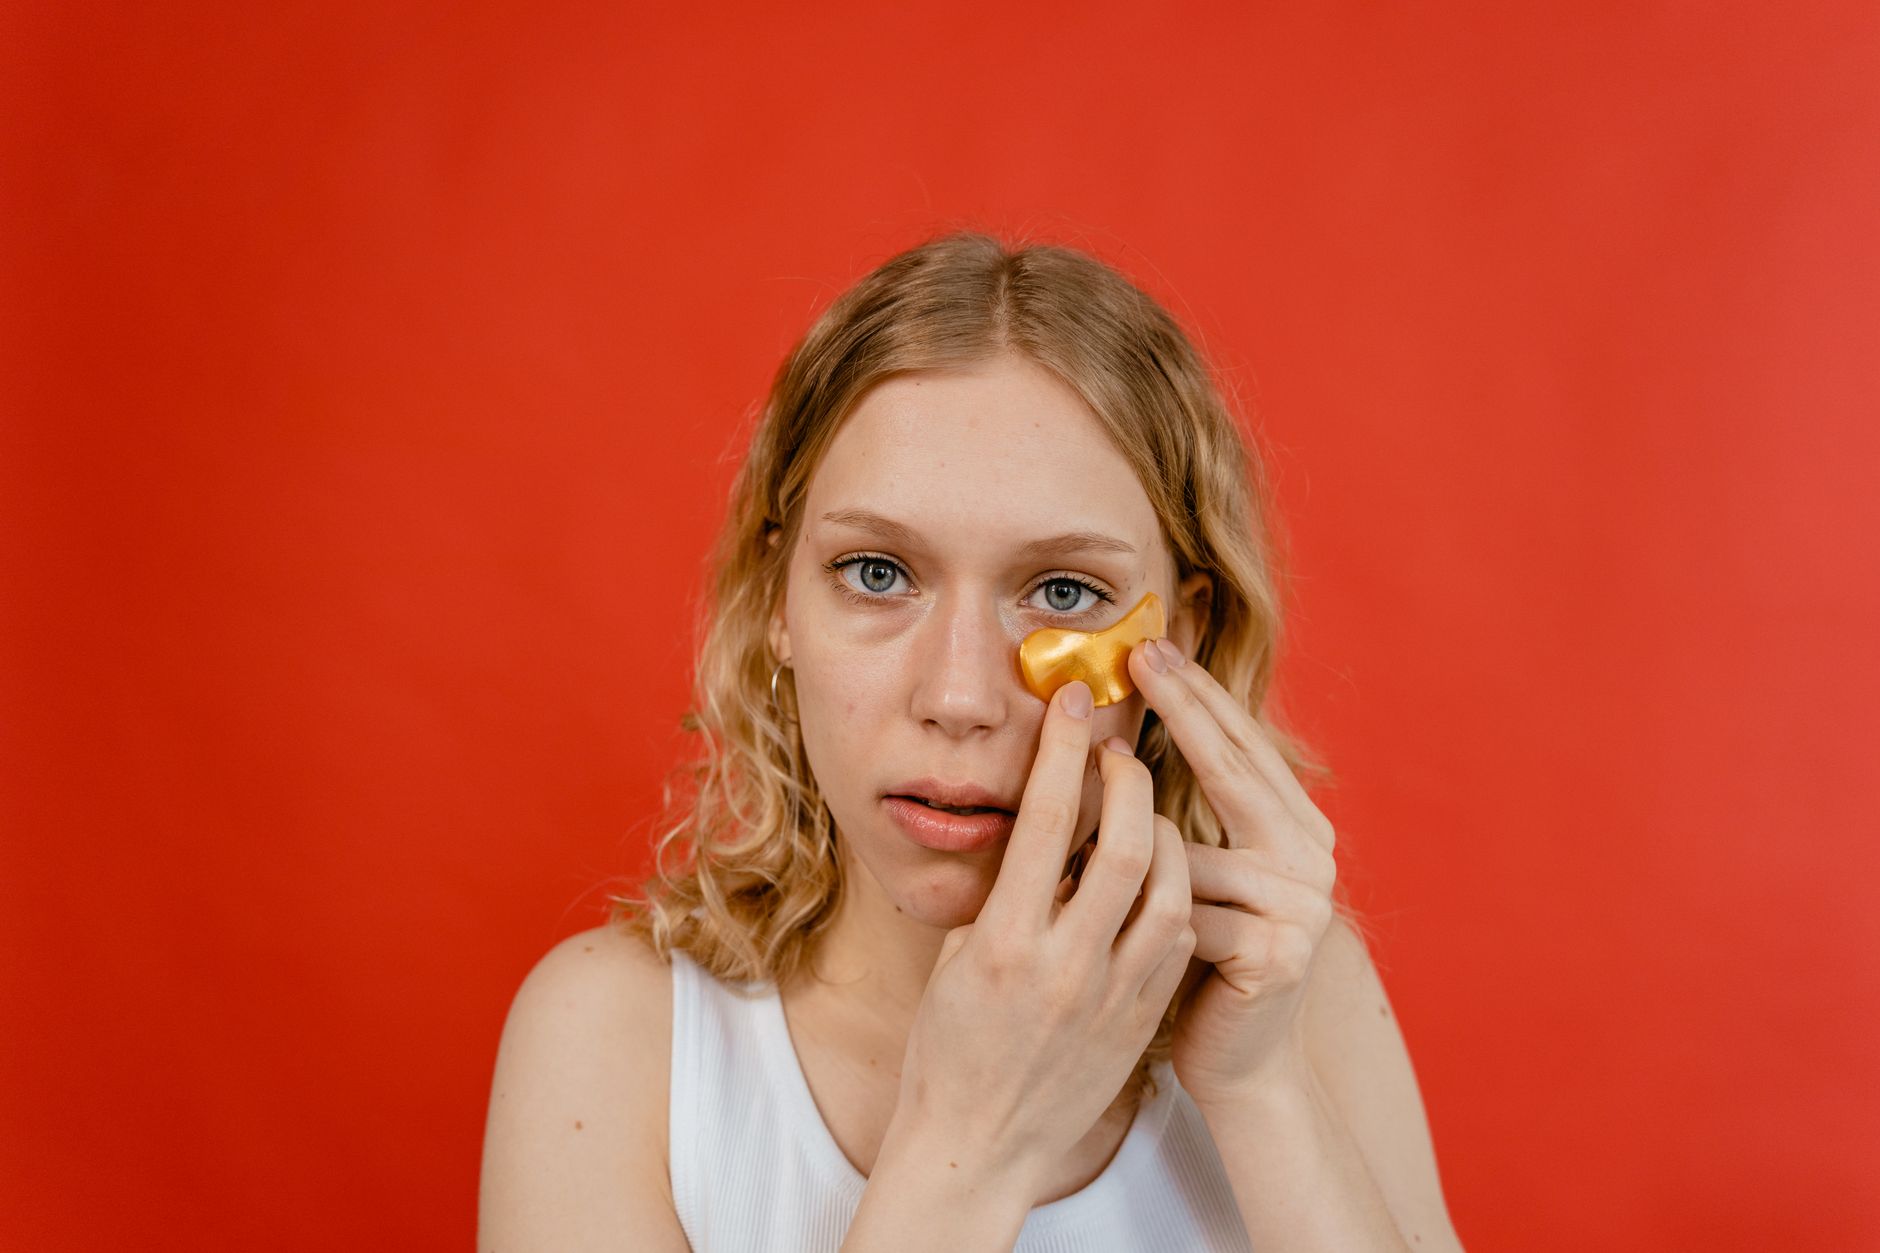

Thin layers, settled skin care, targeted concealer placement, and a light dusting of powder help keep under-eye makeup from creasing. Your under-eyes move every time you smile or squint, so faint line settling is normal; thick product gathering within minutes is not.
You’ll find skin prep, formula selection, targeted placement, powder control, and midday touch-up steps for dry, oily, textured, and mature under-eyes.
The Difference Between Natural Lines and Product Buildup
Fine lines beneath your eyes fold and unfold all day, even on smooth skin. Under-eye concealer sits on thin, mobile skin, so slight settling after talking, smiling, or laughing comes from normal facial movement. Your aim is an even veil of coverage, not skin with no visible expression.
Natural settling stays light
A soft crease that appears after an hour and taps flat with a fingertip is normal. Product that pools into several sharp lines before you finish the rest of your makeup points to too much concealer, dry skin, or layers slipping against each other.
| Visible sign | Likely cause | Useful adjustment |
|---|---|---|
| Fine, dry cracks | Dehydrated skin or excess powder | Use less powder and add a thin moisture layer |
| Shiny patches or separation | Rich skin care beneath makeup | Reduce emollient layers and allow more settling time |
| Immediate line settling | Too much concealer | Lift product, then start with a smaller dot |
| Small rolled bits | Layers pilling together | Remove one base layer or allow each layer to dry down |
For example, a broad triangle of thick concealer can look smooth for 30 seconds, then gather near the lower lash line. Watch your finish for five minutes before reaching for more powder. That short pause shows whether you need less product, more hydration, or a different layer order.
Once excess product is ruled out, hydration and layer order become the most useful places to adjust.
A Balanced Prep Routine Creates a Smoother Base
Dry cracking calls for moisture, while shiny separation calls for less of it. Skin prep should leave your under-eye area comfortable and flexible rather than coated like glass. That difference helps you prevent under-eye makeup creasing without turning hydration into a slippery extra layer.
Light layers need time to settle
- Use eye cream Place a rice-grain amount of lightweight eye cream on tight areas instead of spreading it across the whole under-eye.
- Press gently Tap with your ring finger for about 10 seconds and keep excess product away from the lower lash line.
- Pause before sunscreen Give the eye cream two to five minutes to settle before sunscreen or complexion makeup.
- Keep sunscreen thin Press a light film of facial sunscreen into the area and wait until it no longer feels tacky.
- Check the finish Your skin should feel cushioned rather than wet before color corrector or concealer touches it.
A hydrating eye cream with humectants such as glycerin can soften crepey texture. A rich balm can cause slipping beneath a fluid sunscreen, especially around the inner corner. Your skin should feel flexible, not shiny, before makeup begins.
Primer is not a default step for every under-eye routine. It earns a place where your eye cream, sunscreen, and concealer need more grip or smoothing. Crepasing prevention depends more on thin layers than on adding another product beneath coverage.
A slippery under-eye is not a hydrated under-eye. Blot excess skin care with a clean tissue before concealer instead of trying to hold it down with a heavy powder layer.
Silicone-heavy primer can sit smoothly with some concealers and pill beneath others. Keep your routine short until you identify the layer causing the roll-up. Your clearest clue is pilling that begins as soon as you press concealer over the base.
Formula, Placement, and Amount Control Coverage
Once your skin feels comfortable instead of slick, coverage becomes a placement issue. A lightweight concealer bends with facial movement more easily than a dense, dry formula. Your mirror after several normal expressions matters more than a product’s coverage claim.
Flexible formulas leave less residue in lines
| Under-eye need | Formula direction | Placement focus |
|---|---|---|
| Fine lines or crepey texture | Lightweight, flexible liquid | Inner corner and darkest shadow |
| Dry or mature skin | Comfortable satin finish | Small dots with little powder |
| Oilier under-eyes | Thin medium-coverage liquid | Targeted coverage with sparse powder |
| Deep hollows or dark circles | Color corrector plus concealer | Shadowed tear-trough area |
NARS Radiant Creamy Concealer has a flexible, creamy finish that can suit dry under-eyes. Tarte Shape Tape Concealer offers fuller coverage with a drier feel. Neither formula suits every face, so check your under-eye after 10 minutes of talking, smiling, and looking down.
Correction lowers the concealer load
A peach or apricot color corrector can soften blue, purple, or brown darkness before concealer. That corrective layer means you need less flesh-toned pigment. Less pigment leaves less material available to settle into fine lines.
- Target the inner corner Place most coverage where blue-toned darkness begins beside your nose.
- Follow the hollow Tap a tiny amount along the shadowed tear trough instead of coating the full cheek.
- Skip broad triangles A large bright triangle adds product over skin that has no discoloration.
- Match the corrector Choose soft peach for lighter discoloration and deeper orange-peach for richer tones.
- Stop at coverage Leave skin visible once the shadow looks softened instead of chasing total opacity.
Charlotte Tilbury color correctors and similar cream correctors work best in a pinhead-sized amount. Your under-eye should look brighter before concealer arrives, not orange or thick. A corrector is useful for deep circles, but it adds no value where darkness is already mild.
Thin, Pressed Layers Keep Concealer Out of Fine Lines
Targeted placement works only when product stays close to the skin. Dragging a brush across the under-eye can push concealer into folds, while pressing spreads pigment in a thinner film. This is the best way to apply concealer under the eyes for a smoother finish.
Press rather than sweep
- Dot sparingly Start with one to three small dots total at the inner corner and deepest shadow.
- Press outward Bounce a damp Beautyblender or small brush across the dots without pulling skin downward.
- Check coverage Look straight ahead in daylight and identify darkness that still shows through.
- Add locally Place a second micro-dot only over that shadow, then press the edge into the existing layer.
- Smooth expression lines Look upward and tap settled product from fine lines before powder touches the area.
A damp makeup sponge softens the edges without leaving a heavy rim below your eye. A small synthetic brush gives you more control around the inner corner, where darkness can be dense and skin can fold quickly. Choose the tool that leaves the thinnest finish on your skin.
Less concealer is the central answer to how to stop concealer from creasing. You can add coverage in one small zone, but a thick, dried layer is hard to lift without disturbing the base beneath it.
A flexible base still needs targeted anchoring, because movement can make even thin concealer migrate into lines.
Visible skin texture is normal. A smooth, even finish looks more convincing than a thick layer trying to erase folds that move with your face.
Strategic Setting Prevents Slip Without a Cakey Finish
After you tap out the lines, powder has one job: hold the thin layer where you placed it. Setting powder should not blanket every inch below your eye. Your goal is controlled grip without pulling moisture from the surface.
Powder belongs where movement is strongest
Pick up a tiny amount of finely milled loose translucent powder with a small puff, then press it beneath the inner corner and along the area that creases first. Laura Mercier Translucent Loose Setting Powder and Huda Beauty Easy Bake Loose Powder both depend on the amount your skin can tolerate.
Dry or textured under-eyes can need no powder beyond the inner corner. Oilier skin can hold a little more, though a dense layer turns texture into a map of pale lines. Check your finish after a few minutes of talking and smiling.
Heavy baking can expose dehydration
Baking leaves a thick deposit of powder below the eye for several minutes before the extra is brushed away. That technique can suit dramatic makeup, but it can make mature skin and dry fine lines look tighter and more textured.
For a natural finish, press powder once, wait briefly, then brush away loose residue. Your under-eye should feel set to the touch without looking pale, dusty, or flat. This lighter approach also helps prevent under-eye makeup creasing on skin that already has visible texture.
A Midday Rescue Routine Fixes Gathered Product
A crease at 2 p.m. does not call for another full layer of makeup. Product has already gathered in a fold, and extra concealer over that ridge makes it thicker. Lift and redistribute the collected layer before you replace coverage.
Lift and redistribute before adding coverage
- Find the crease Look downward in a mirror and locate the exact line holding excess product.
- Tap it flat Use a clean fingertip, makeup sponge, or small brush to lift and redistribute gathered concealer.
- Recheck darkness Face forward and see whether coverage still looks even after the product is smoothed.
- Add a pinpoint Place concealer only on exposed darkness, then press its edge into the existing layer.
- Reset lightly Press a trace of powder onto shine only after the crease has been flattened.
Visible symptoms point to one adjustment
| Midday symptom | Routine change |
|---|---|
| Dry cracking | Use less powder and focus eye cream on tight patches before makeup. |
| Pilling | Remove one base layer, then allow the remaining layers to settle fully. |
| Shiny separation | Choose lighter skin care or reduce the amount placed below the eye. |
| Immediate settling | Cut the concealer amount in half and tap lines smooth before setting. |
| Coverage fading | Place color corrector beneath a thinner, targeted concealer layer. |
Touch-ups are part of makeup on moving skin during long workdays, warm rooms, and frequent expressions. Your clearest fix comes from changing the one step tied to the symptom instead of adding primer, powder, and more concealer all at once.
Light Layers Create the Cleanest Finish
Your under-eyes will always form lines because your face moves. The cleanest result comes from treating those lines as skin, then reducing product that can collect there: light hydration, targeted correction, thin pressed concealer, and restrained powder.
That routine helps prevent under-eye makeup creasing without asking coverage to do an impossible job. Your makeup can still show natural texture while looking even, fresh, and balanced through the day.
FAQ
Why does my makeup crease under my eyes?
Makeup creases beneath your eyes because skin folds with every expression and product can settle into those folds. Your result can look more pronounced with excess concealer, rich skin care that slips, dry patches, or too much powder.
Why does concealer crease under my eyes?
Concealer creases because it collects in natural expression lines beneath the eyes. Your finish gets worse with excess product, dry skin, rich layers that move, or a heavy powder deposit. A thin pressed layer settles less visibly than a thick layer across the full under-eye.
Should I apply eye cream before concealer?
Eye cream can help concealer sit more smoothly where your under-eye skin feels dry or tight. Use a small amount, press it into dry areas, and wait until your skin feels comfortable rather than slick before placing makeup over it.
How much concealer should I use to prevent under-eye creasing?
Start with one to three small dots total, focused on the inner corner and deepest shadow. Your goal is to soften darkness rather than coat the entire under-eye. Add a micro-dot only where darkness remains after you press the first layer flat.
Do I need primer under my eyes?
Primer is useful only where your existing layers need more grip or smoothing. Skip it where eye cream, sunscreen, and concealer already sit smoothly. An extra layer can cause pilling or slipping, especially beneath thin under-eye skin.
What type of concealer is best for fine lines under the eyes?
A lightweight, flexible liquid concealer with a satin or natural finish tends to sit more softly on fine lines. Your formula should bend with facial movement instead of drying into a stiff film. Dense full-coverage formulas can work, but they need a smaller amount.


